# 준비
본격적으로 macOS에 개발 환경을 구축합니다.
- iTerm2 터미널 앱 설치
- 패키지 관리자 (Homebrew) 설치
- 쉘 프롬프트 설정
- CLI 프로그램 & 개발 앱 설치
# iTerm2 설치
우선, macOS에 기본으로 설치되어 있는 Terminal 앱 대신 iTerm2를 터미널 앱으로 사용합니다. iTerm2는 기본 앱에 없는 다양한 기능 (opens new window)이 있고 손쉽게 테마를 설정할 수 있습니다.
설치

iTerm 홈페이지 (opens new window)에서 Download버튼을 눌러 애플리케이션을 다운로드합니다.
Command Line Tools
iTerm을 실행하면 python을 실행하기 위해 Command Line Tools를 설치할지 묻는 창이 뜰 수 있습니다. Install을 선택하여 설치합니다.
# 디자인 설정
취향에 맞게 iTerm 상세 설정을 합니다.
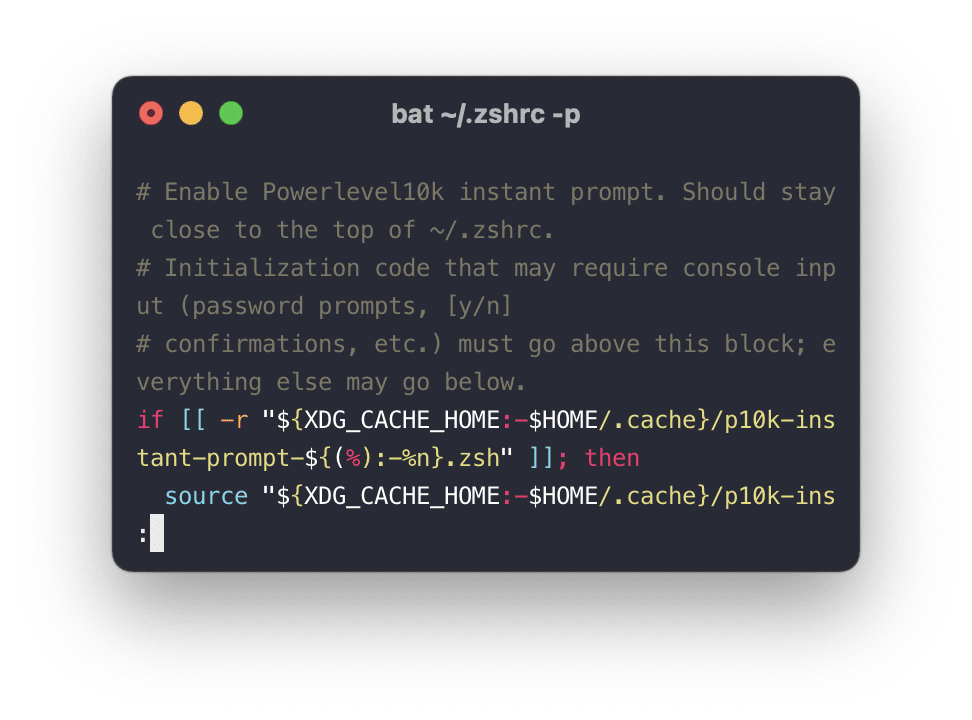
# Color Preset 변경
Snazzy.itermcolors 파일을 클릭해서 다운받거나 여러 개의 테마 (opens new window)를 둘러보고 맘에 드는 것을 고릅니다. 다운받은 파일(.itermcolors)을 더블클릭하면 자동으로 iTerm Color Preset에 추가됩니다.
iTerm2를 실행하고 설정(⌘ + ,)창에서 Profiles 항목을 선택하고 Colors탭을 선택합니다.
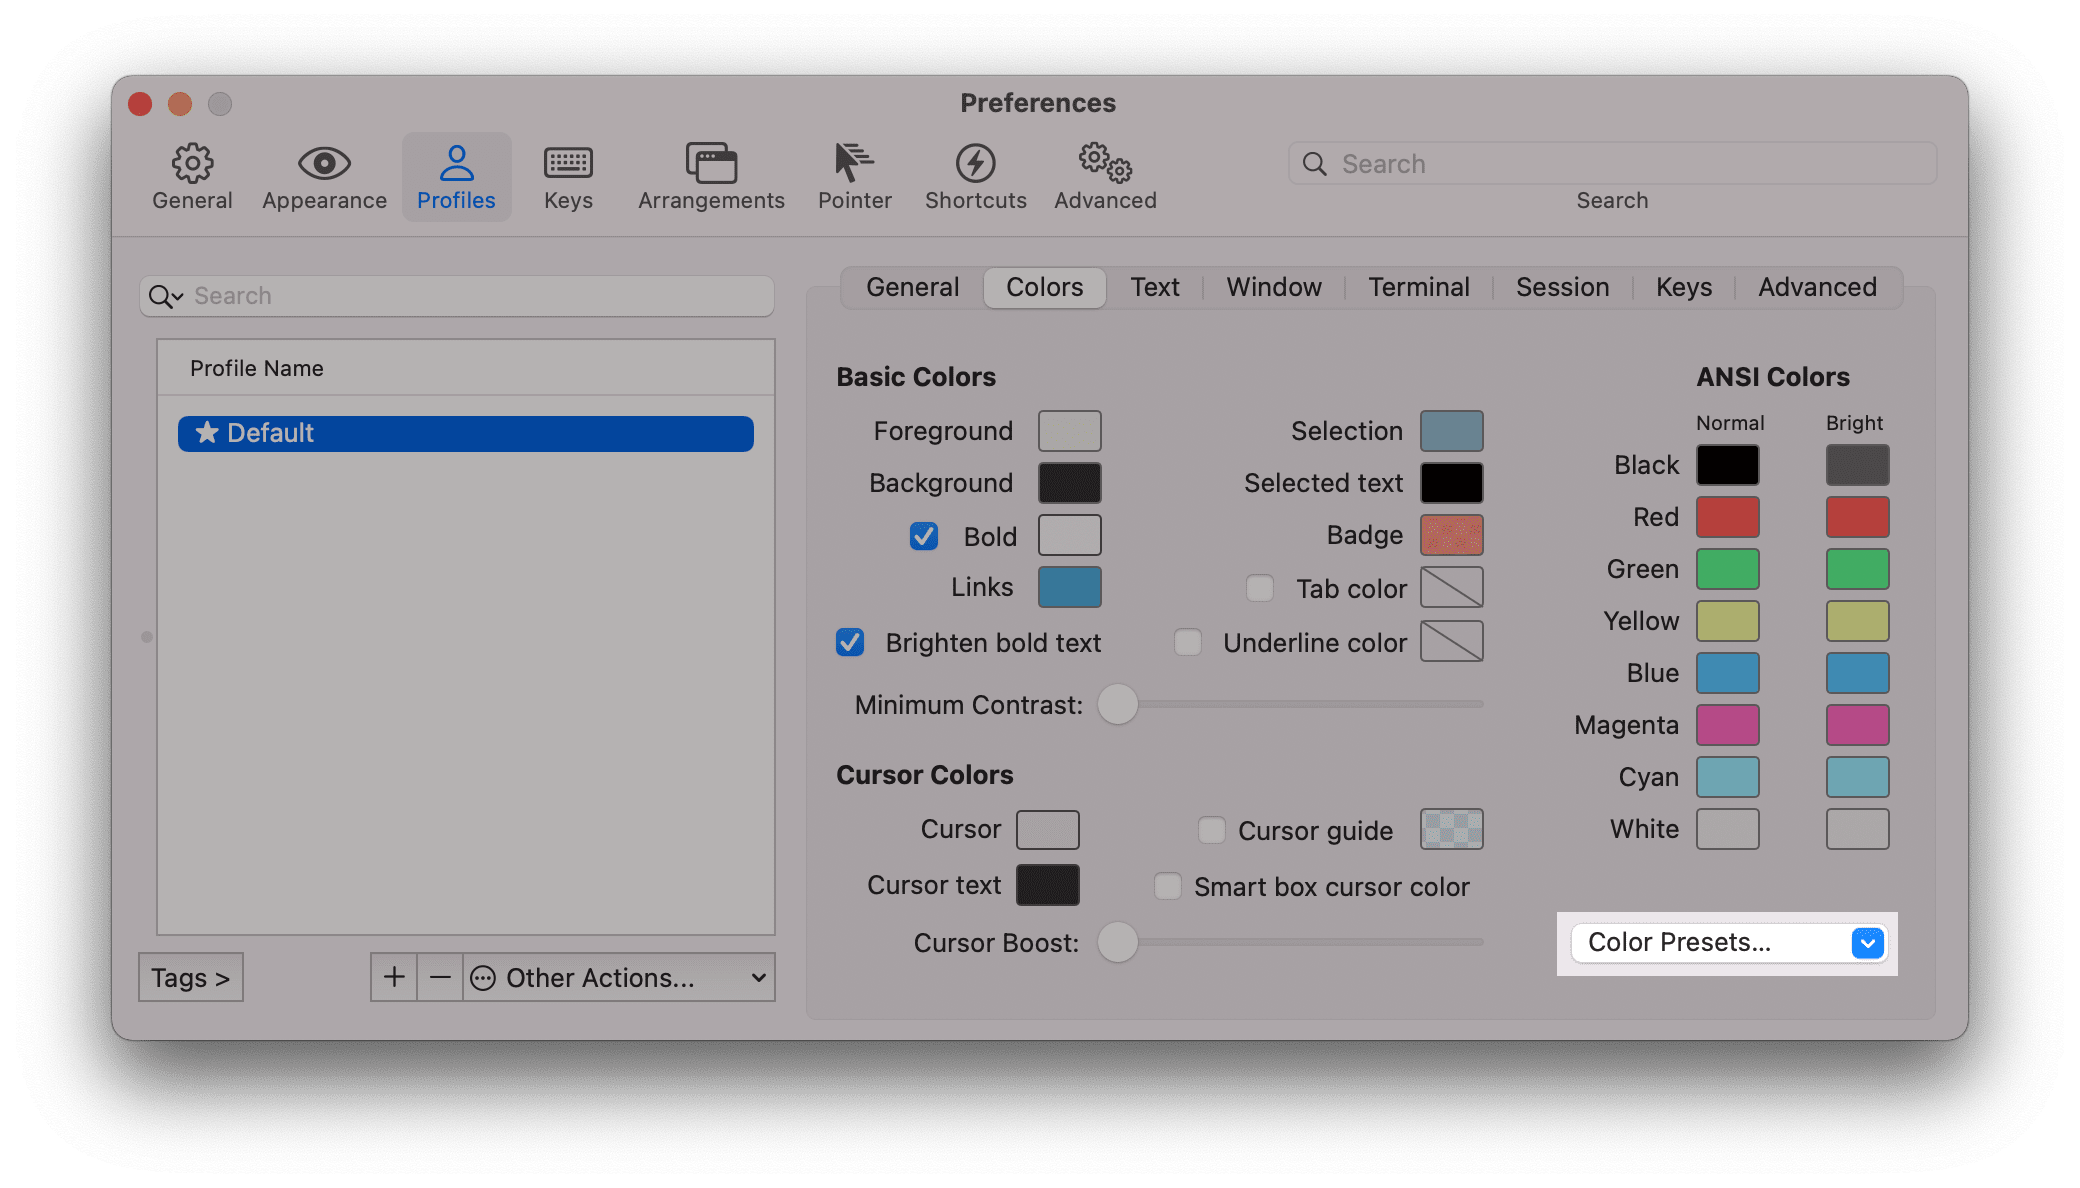
오른쪽 하단에 Color presets... 선택 박스를 클릭하면 조금 전에 추가한 Snazzy preset을 선택할 수 있습니다.
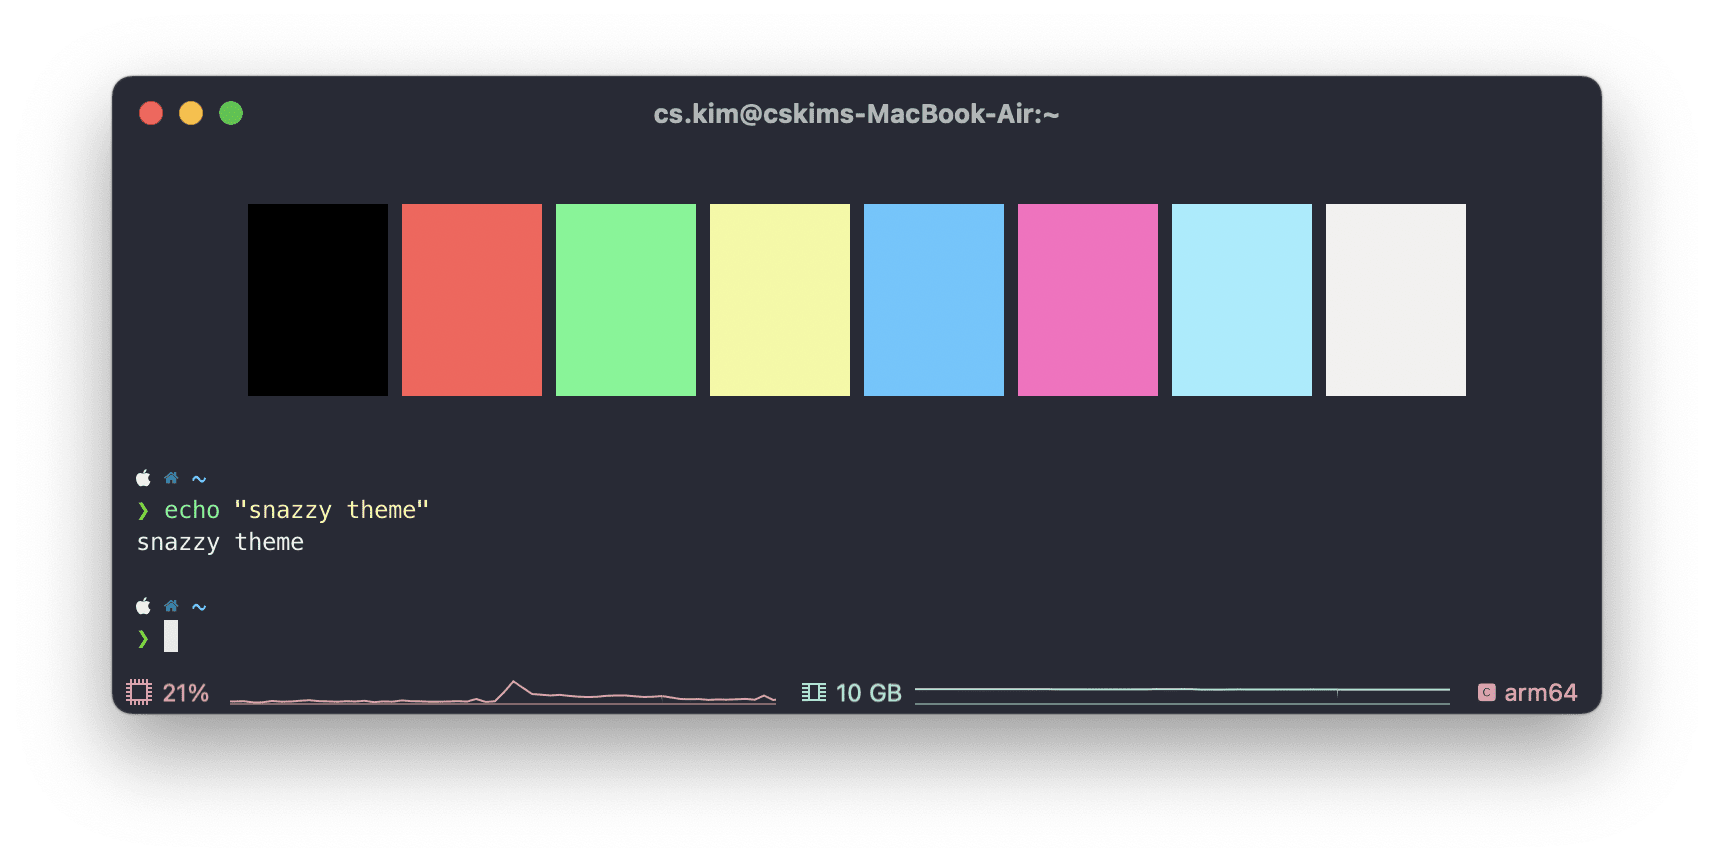
음.. 그런데 Color를 바꿔도 그다지 달라지는 건 없어 보입니다.. 이게 무슨 소리요?! 계속 셋팅을 해봅니다.
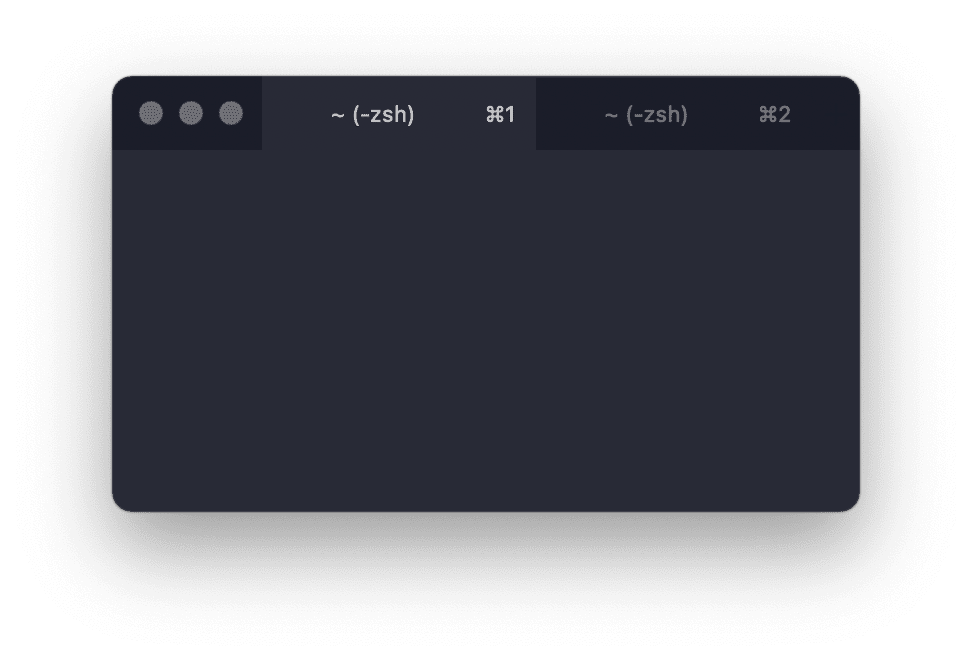
# 테마 변경
Appearance>General>Theme: Minimal
# 마진 수정
Apperance>Panes>Side margins: 5 -> 12Apperance>Panes>Top & bottom margins: 2 -> 10
# 탭 라인 제거
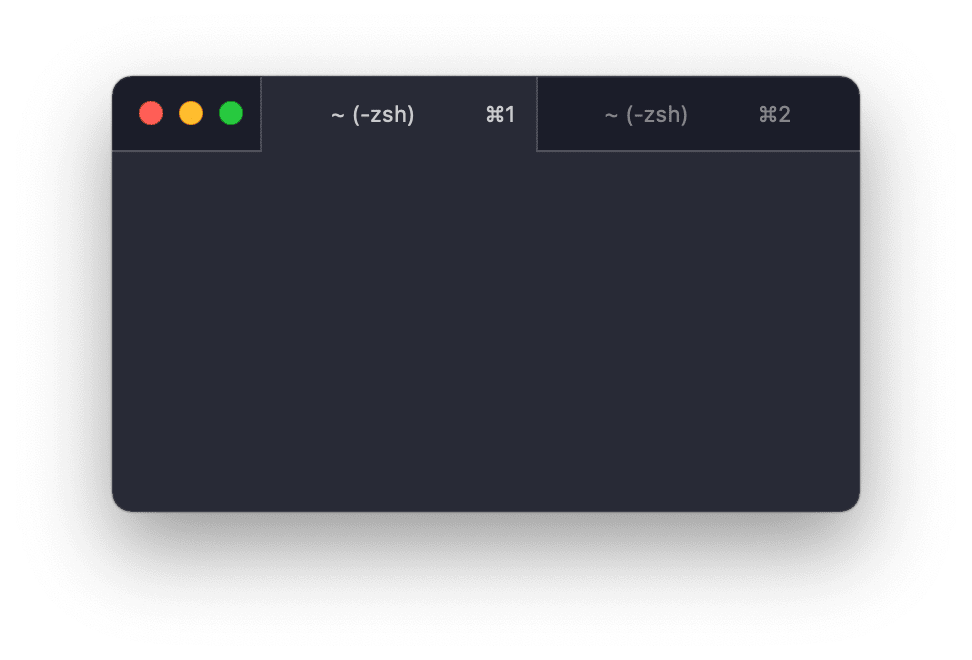
Advanced>Tabs>In the Minimal theme, how prominent should the tab outline be?: 0
# 폰트 크기 및 줄 간격 변경
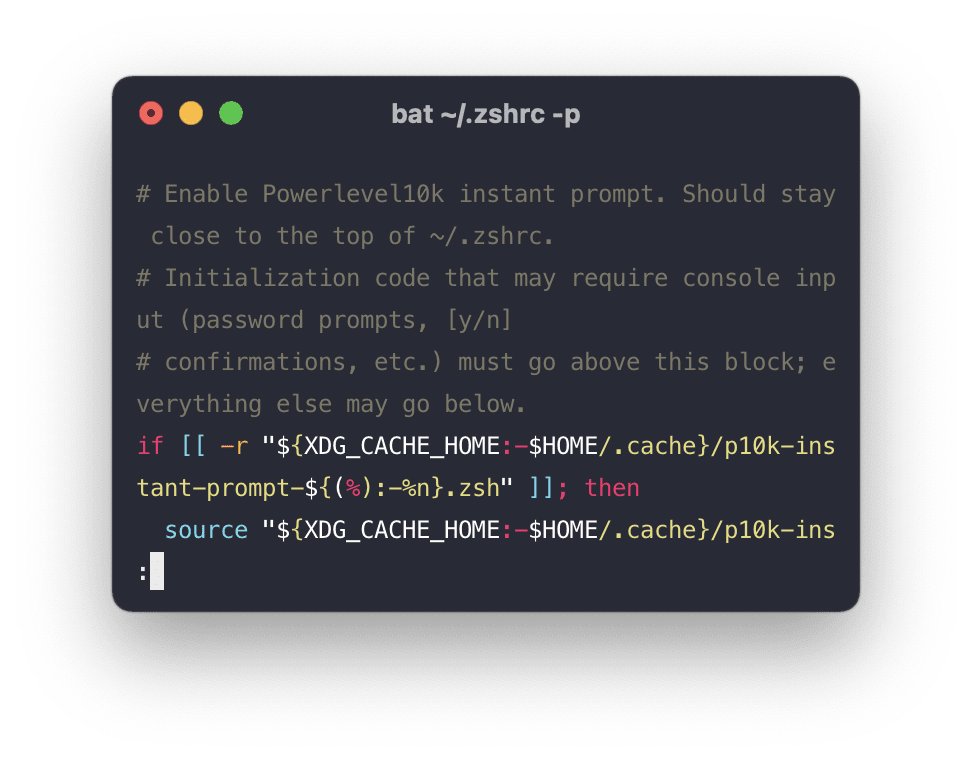
Profiles>Text>n/n 줄 간격: 100 -> 110으로 변경
# Profile 설정
설정하면 유용한 항목을 알아봅니다.
# General

새 탭을 열 때 홈(~)이 아닌 기존 경로를 유지하도록 설정합니다. 홈으로 가고 싶으면 cd만 입력하세요.
Profiles>General>Working Directory: Reuse previous session's directory
# Text
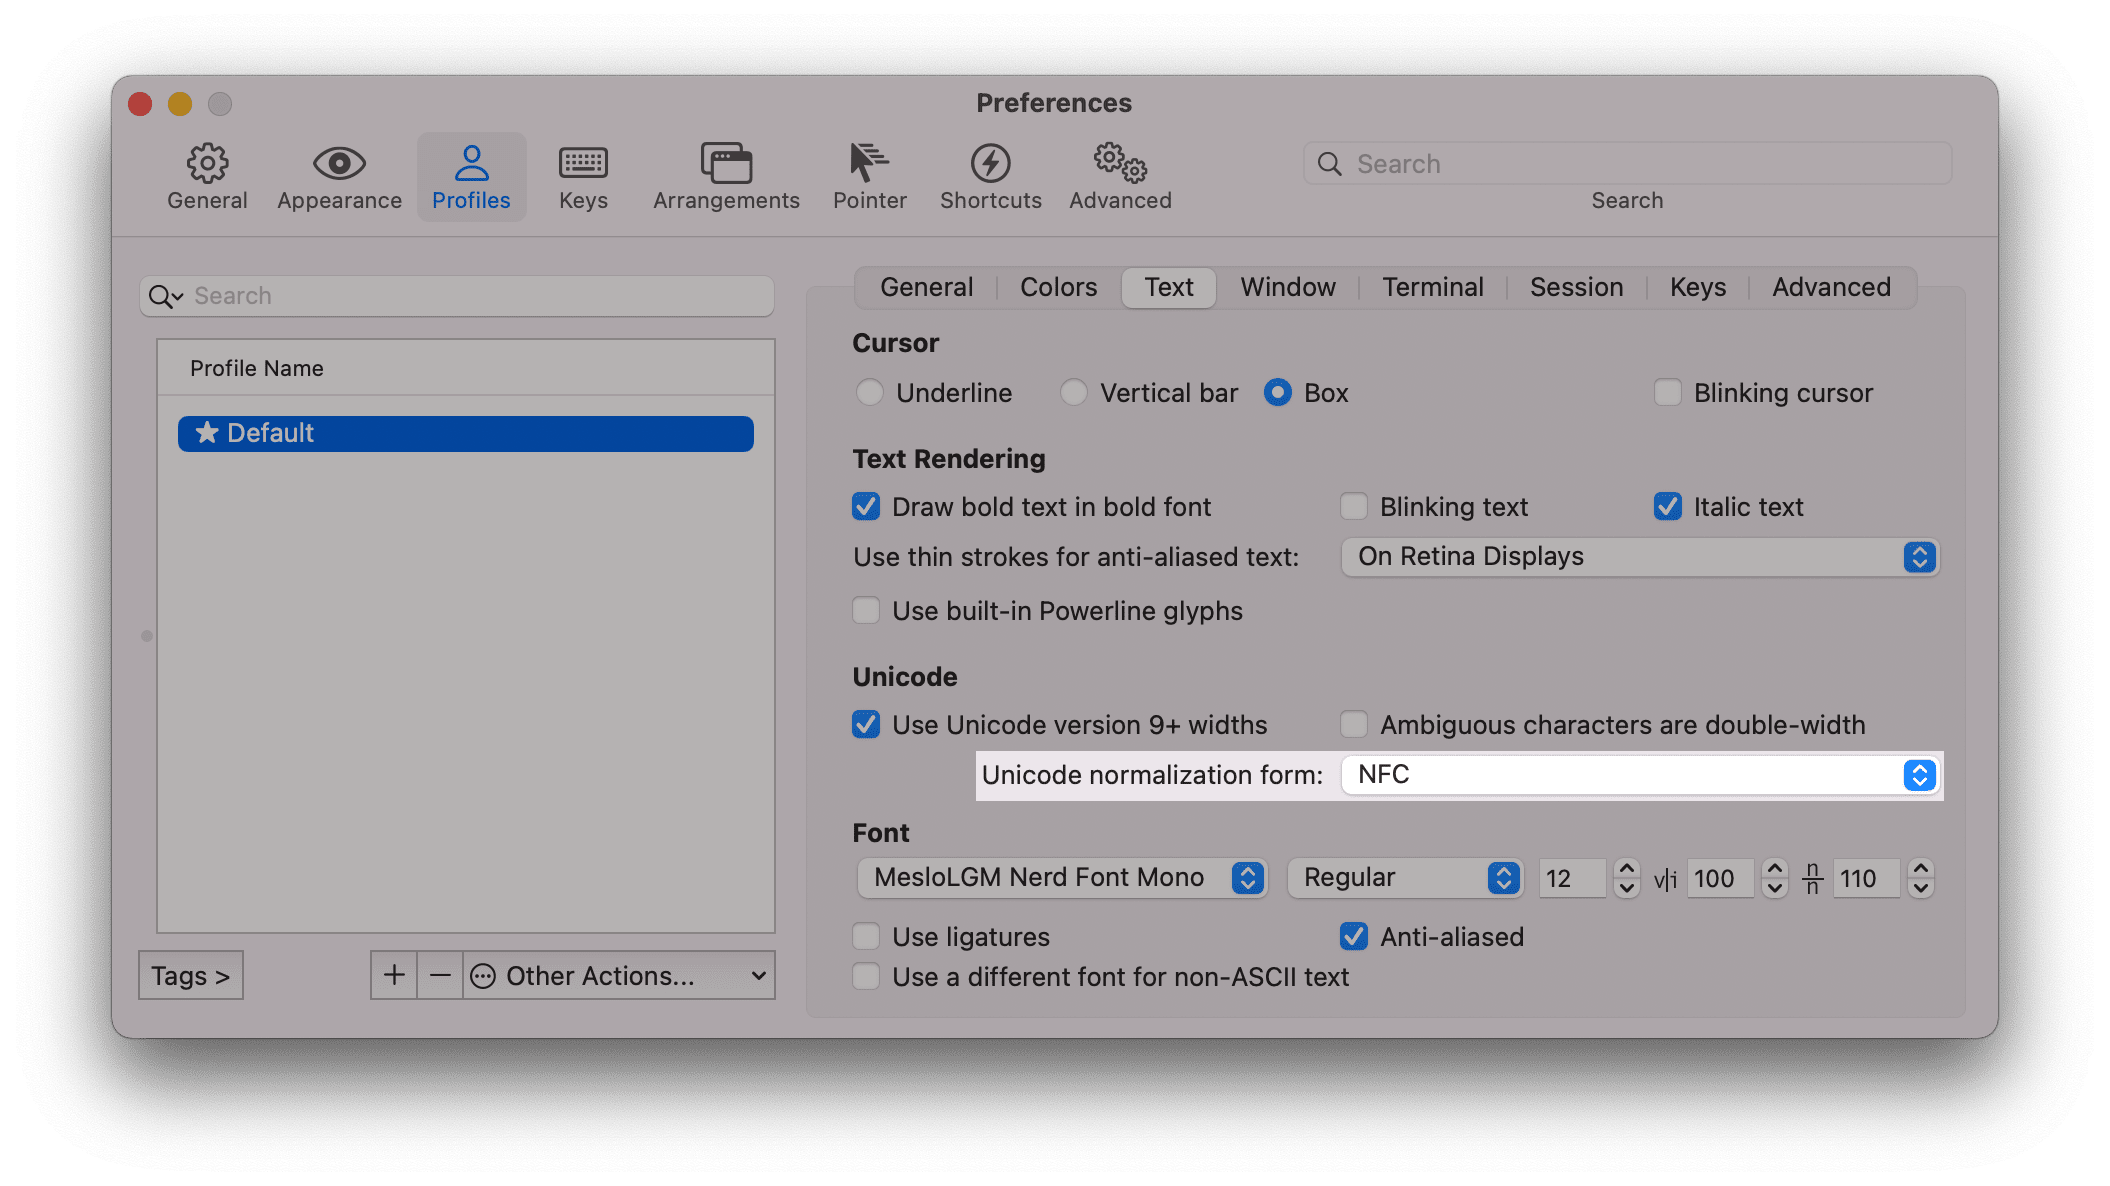
파일명 또는 디렉토리의 한글 자/모가 분리되는 현상을 방지합니다.
Profiles>Text>Unicode normalization form: None -> NFC
# Window
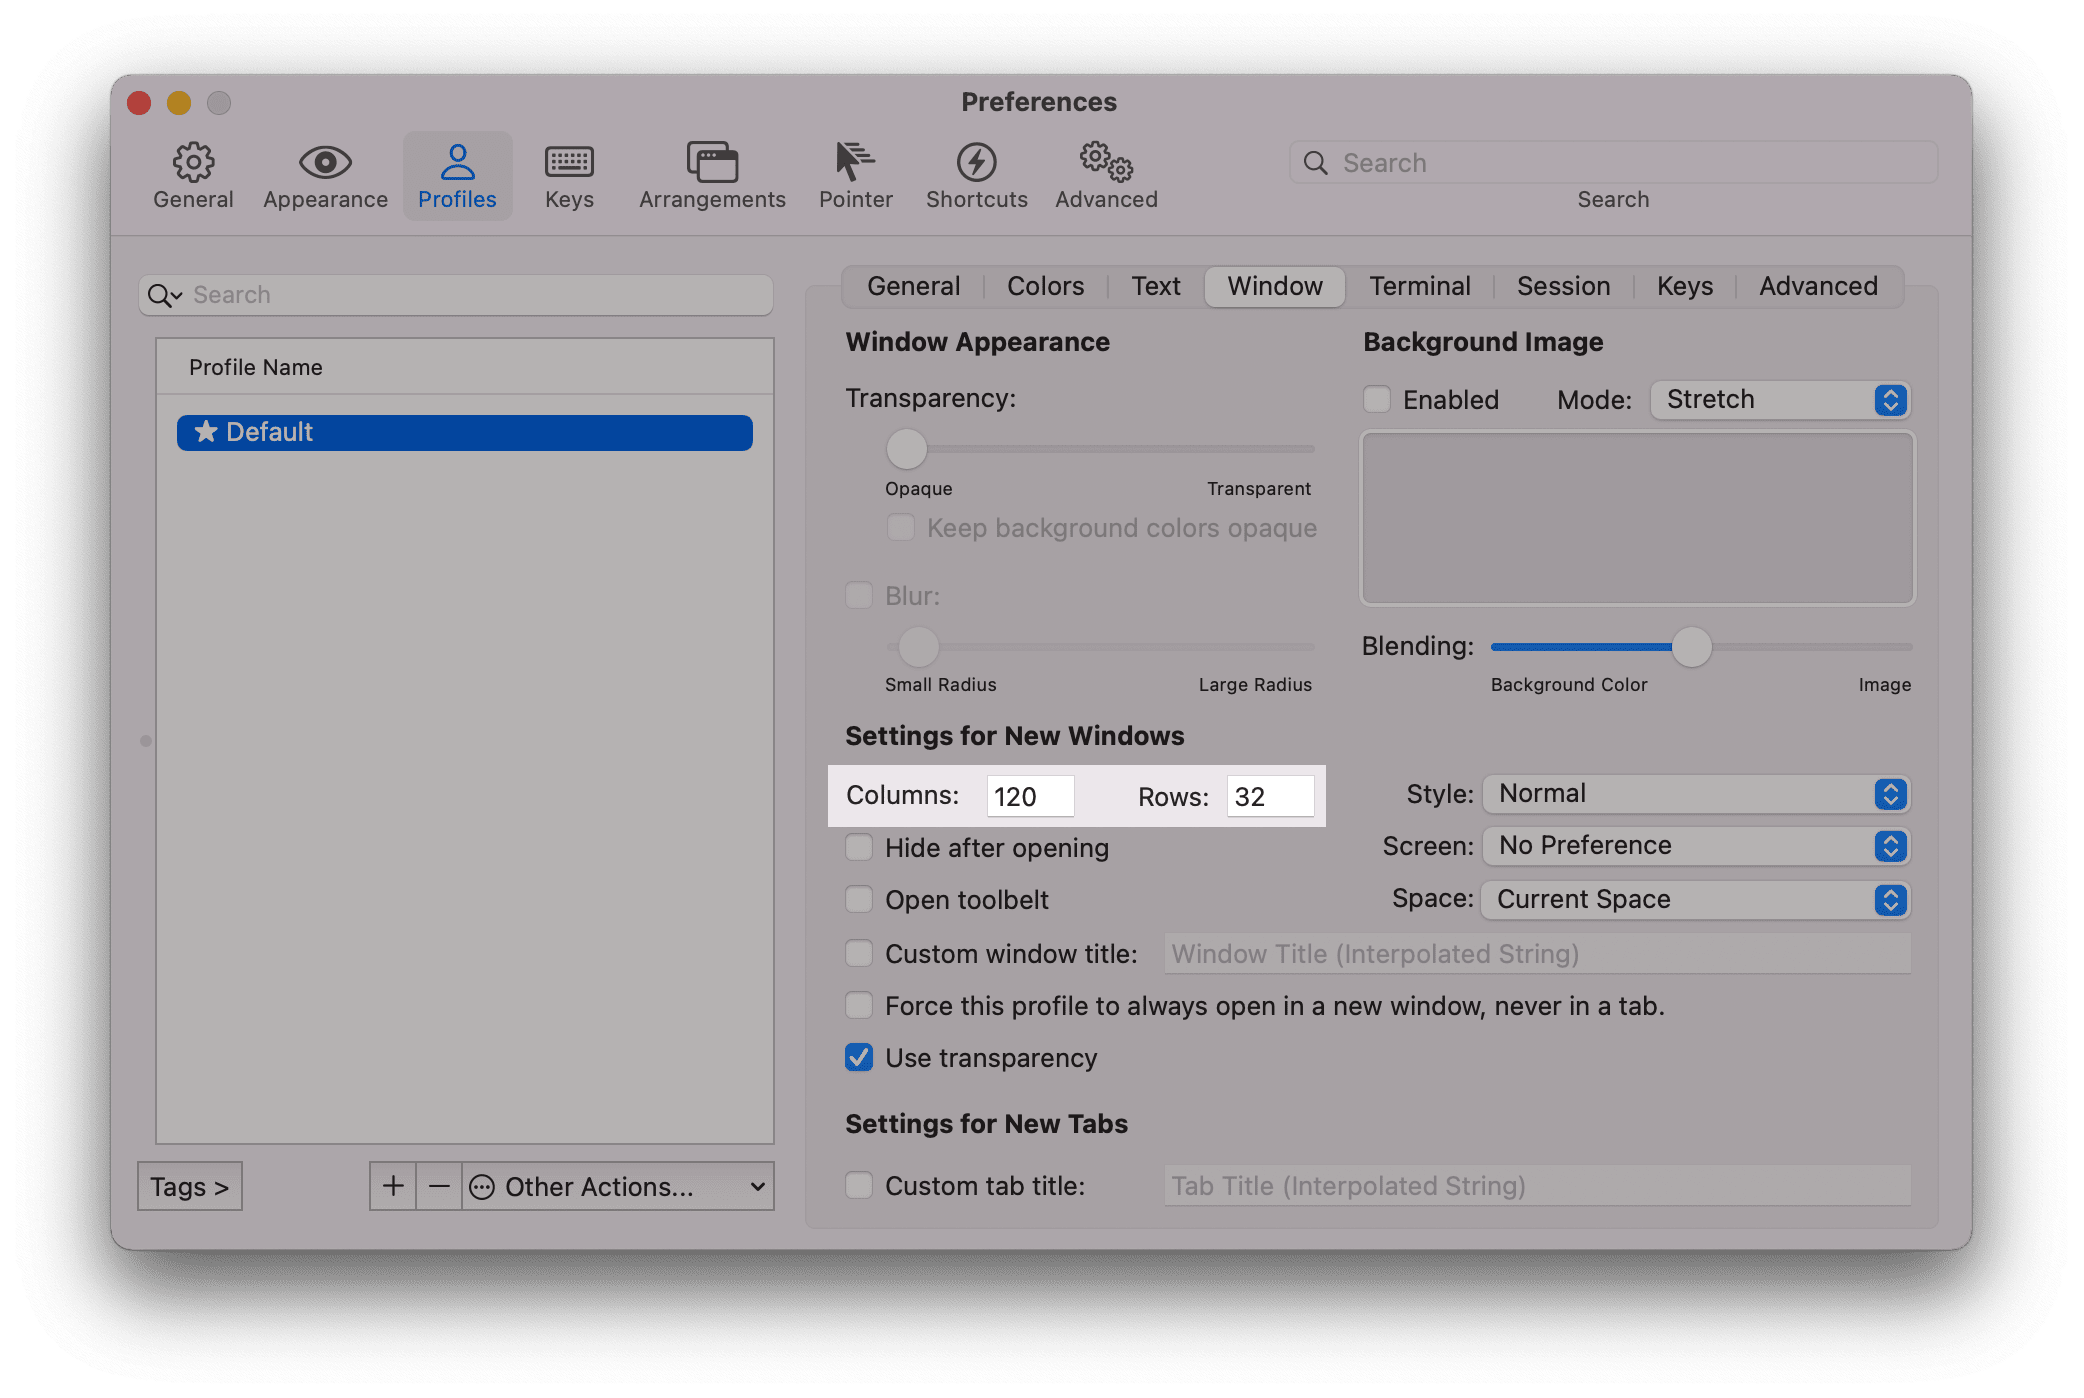
기본 창크기를 좀 더 크게 조정합니다.
Profiles>Window>Columns,Rows: 120, 32
# Terminal
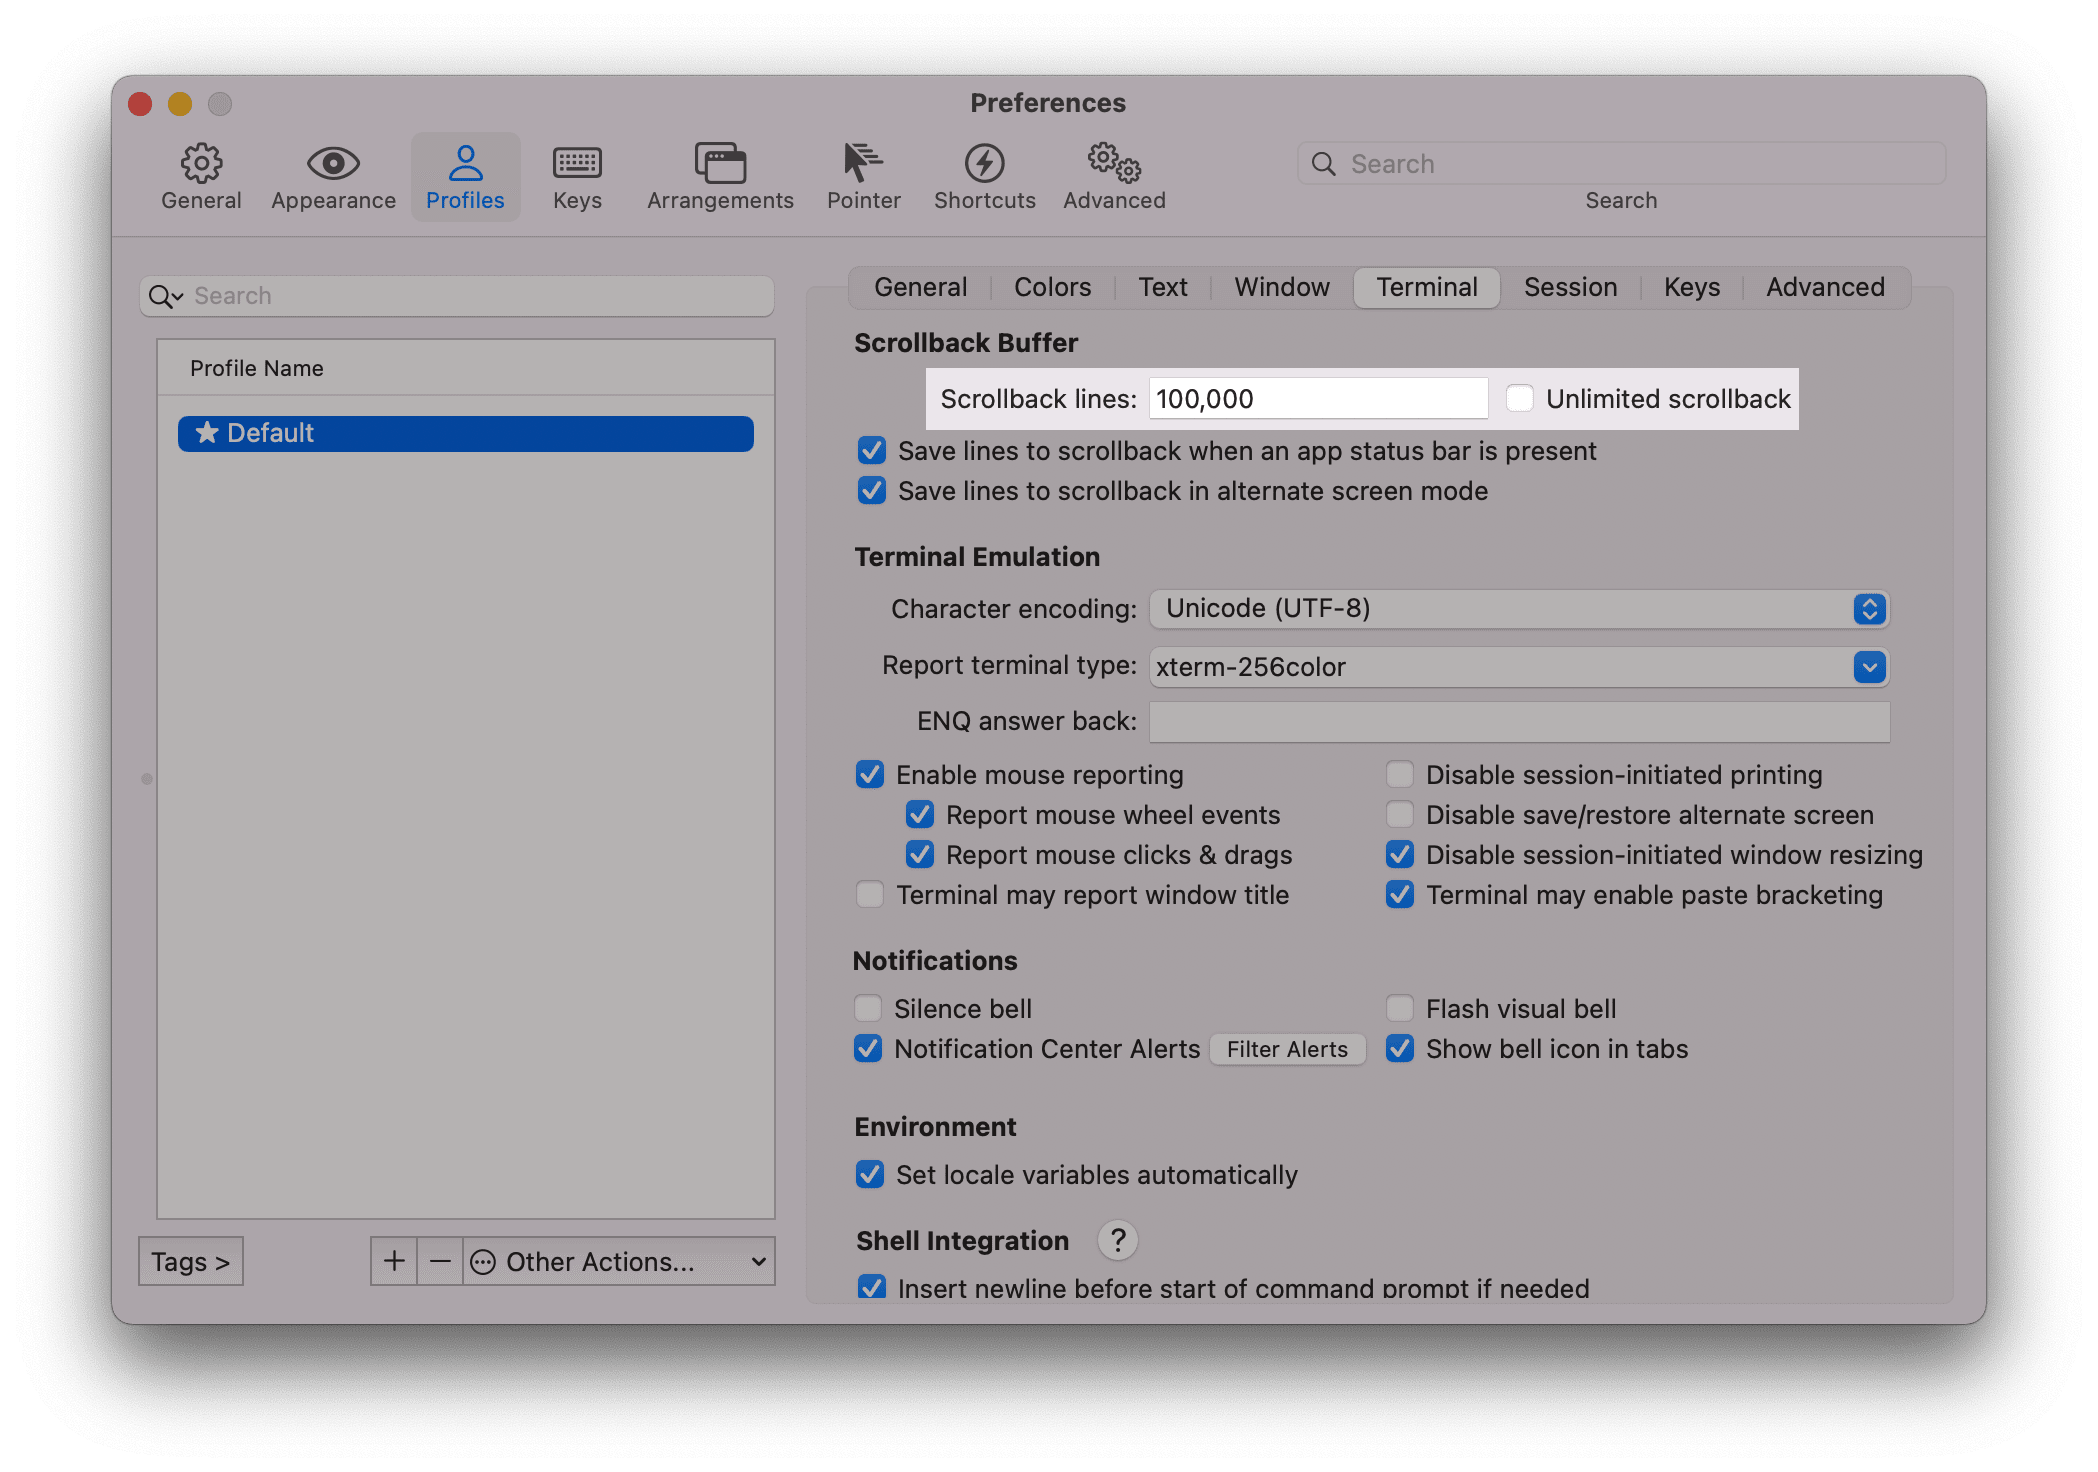
지난 결과 더 보기 버퍼(스크롤 위로 올렸을 때 저장갯수)를 늘립니다.
Profiles>Terminal>Scrollback lines: 100,000
# Session
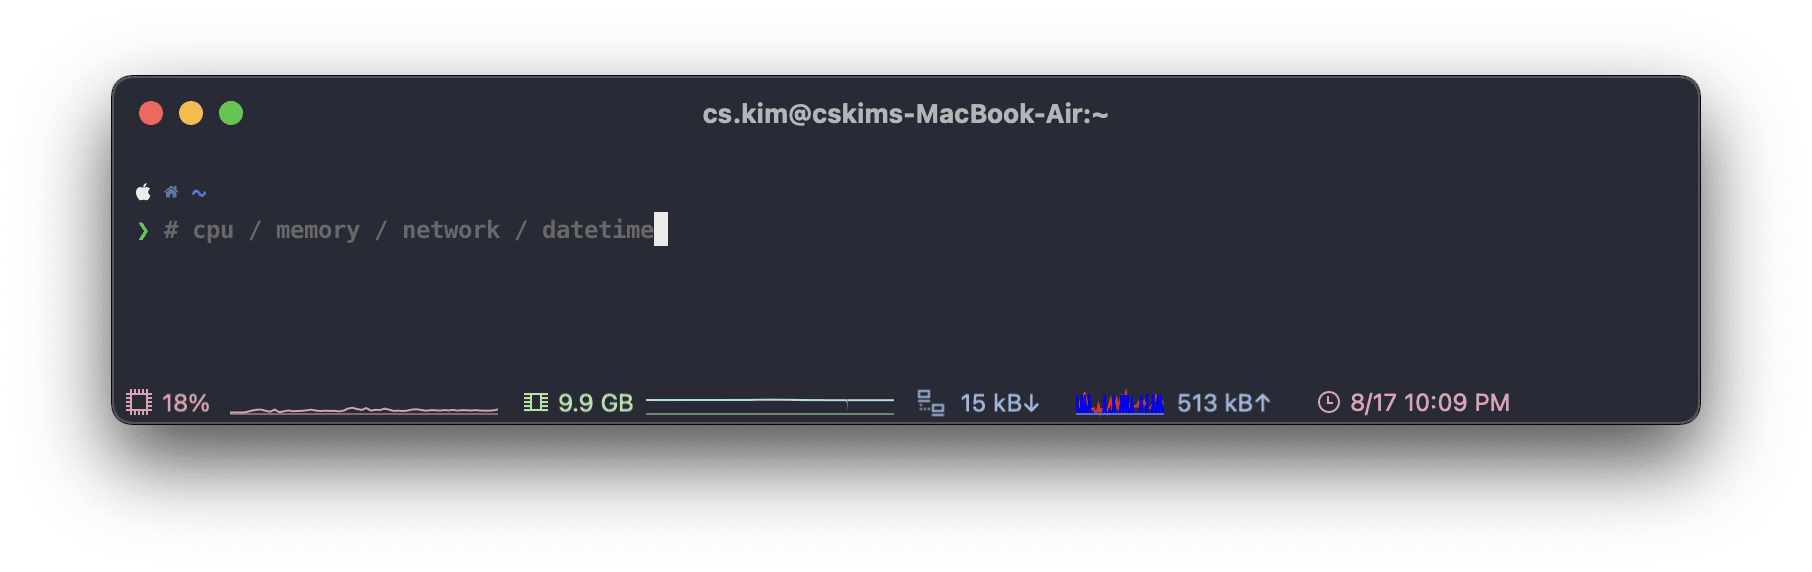
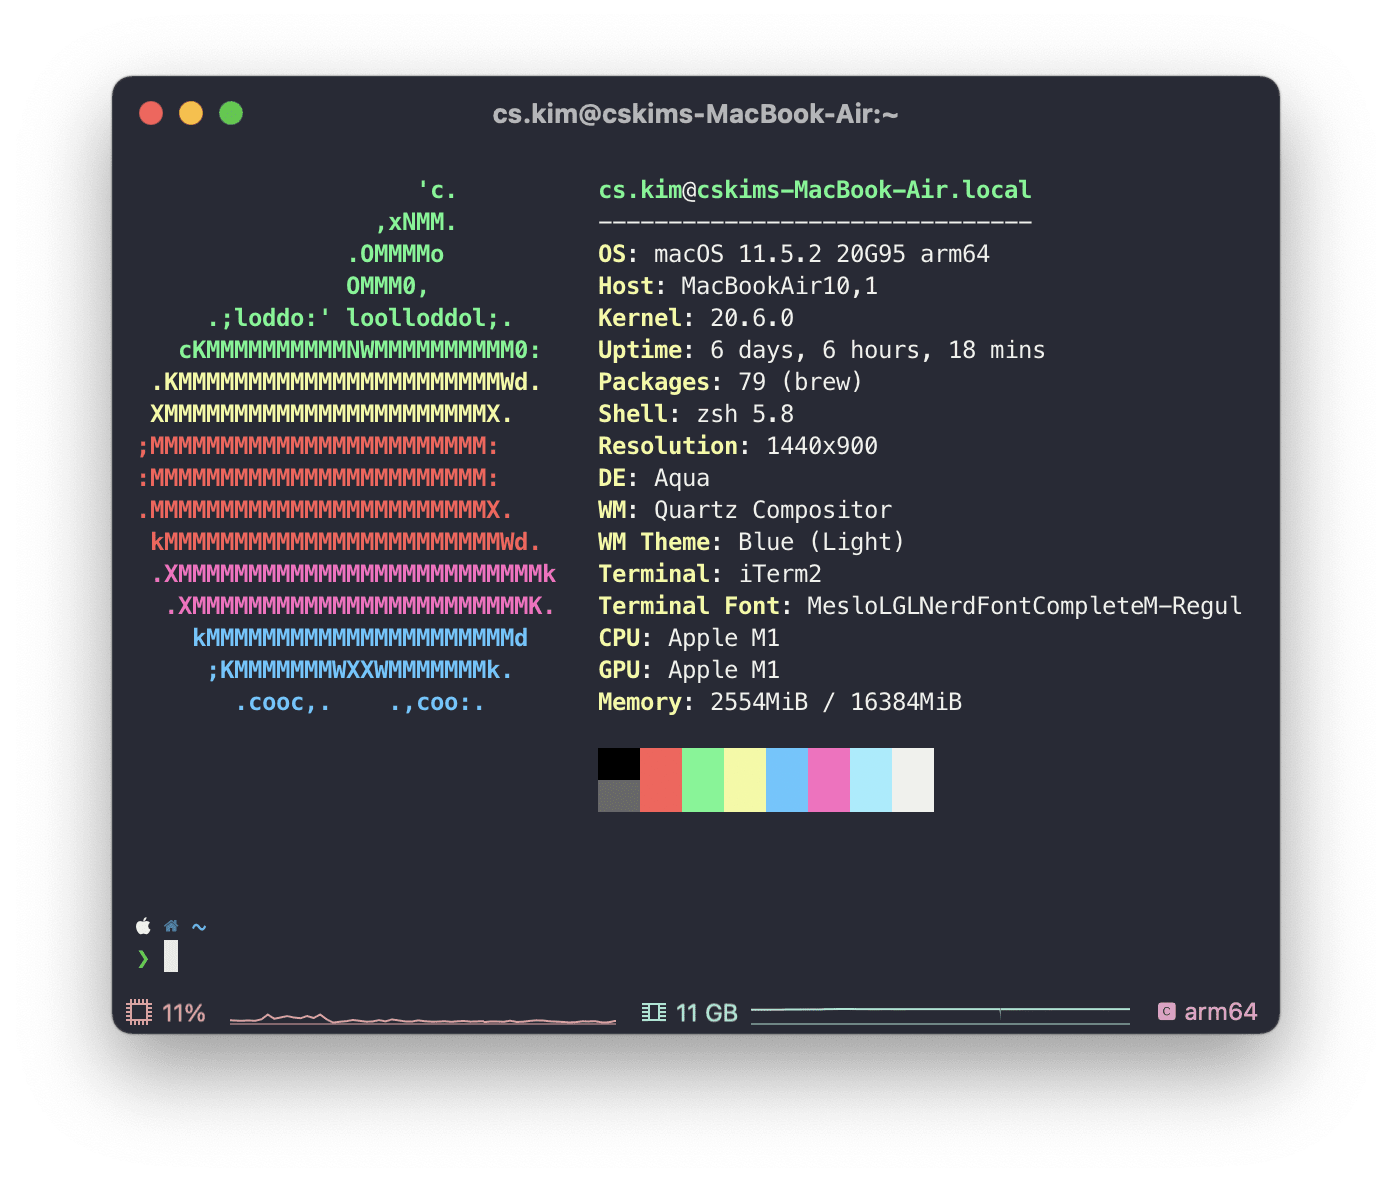
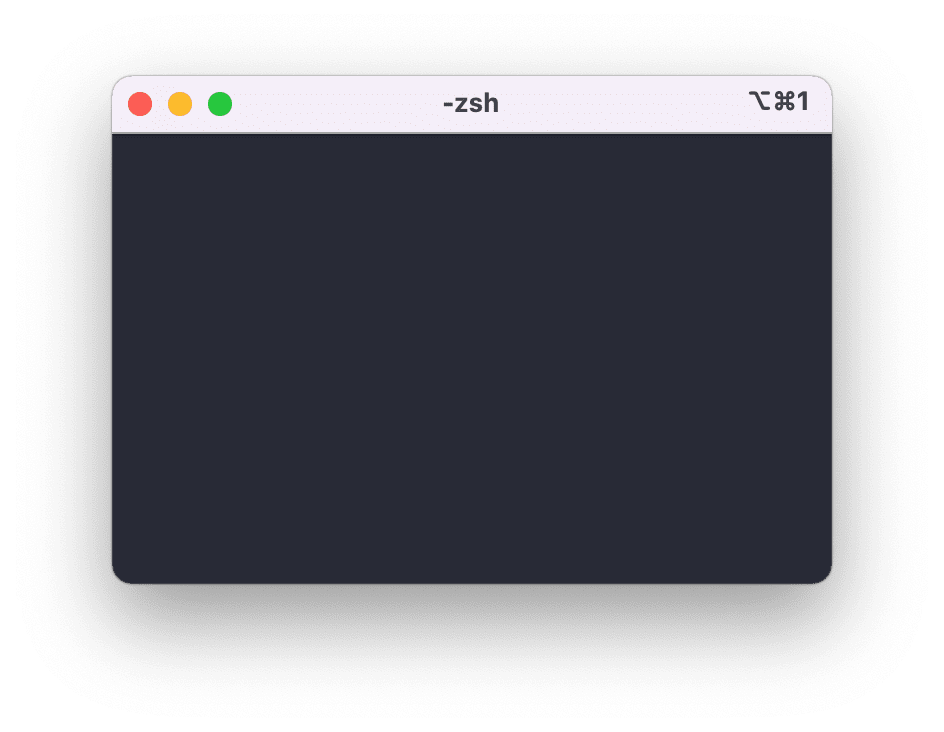
iTerm2에 새롭게 추가된 상태바 기능입니다. 상단 또는 하단에 상태바를 추가하고 여러 가지 정보를 볼 수 있습니다. 필요한 경우 활성화합니다.
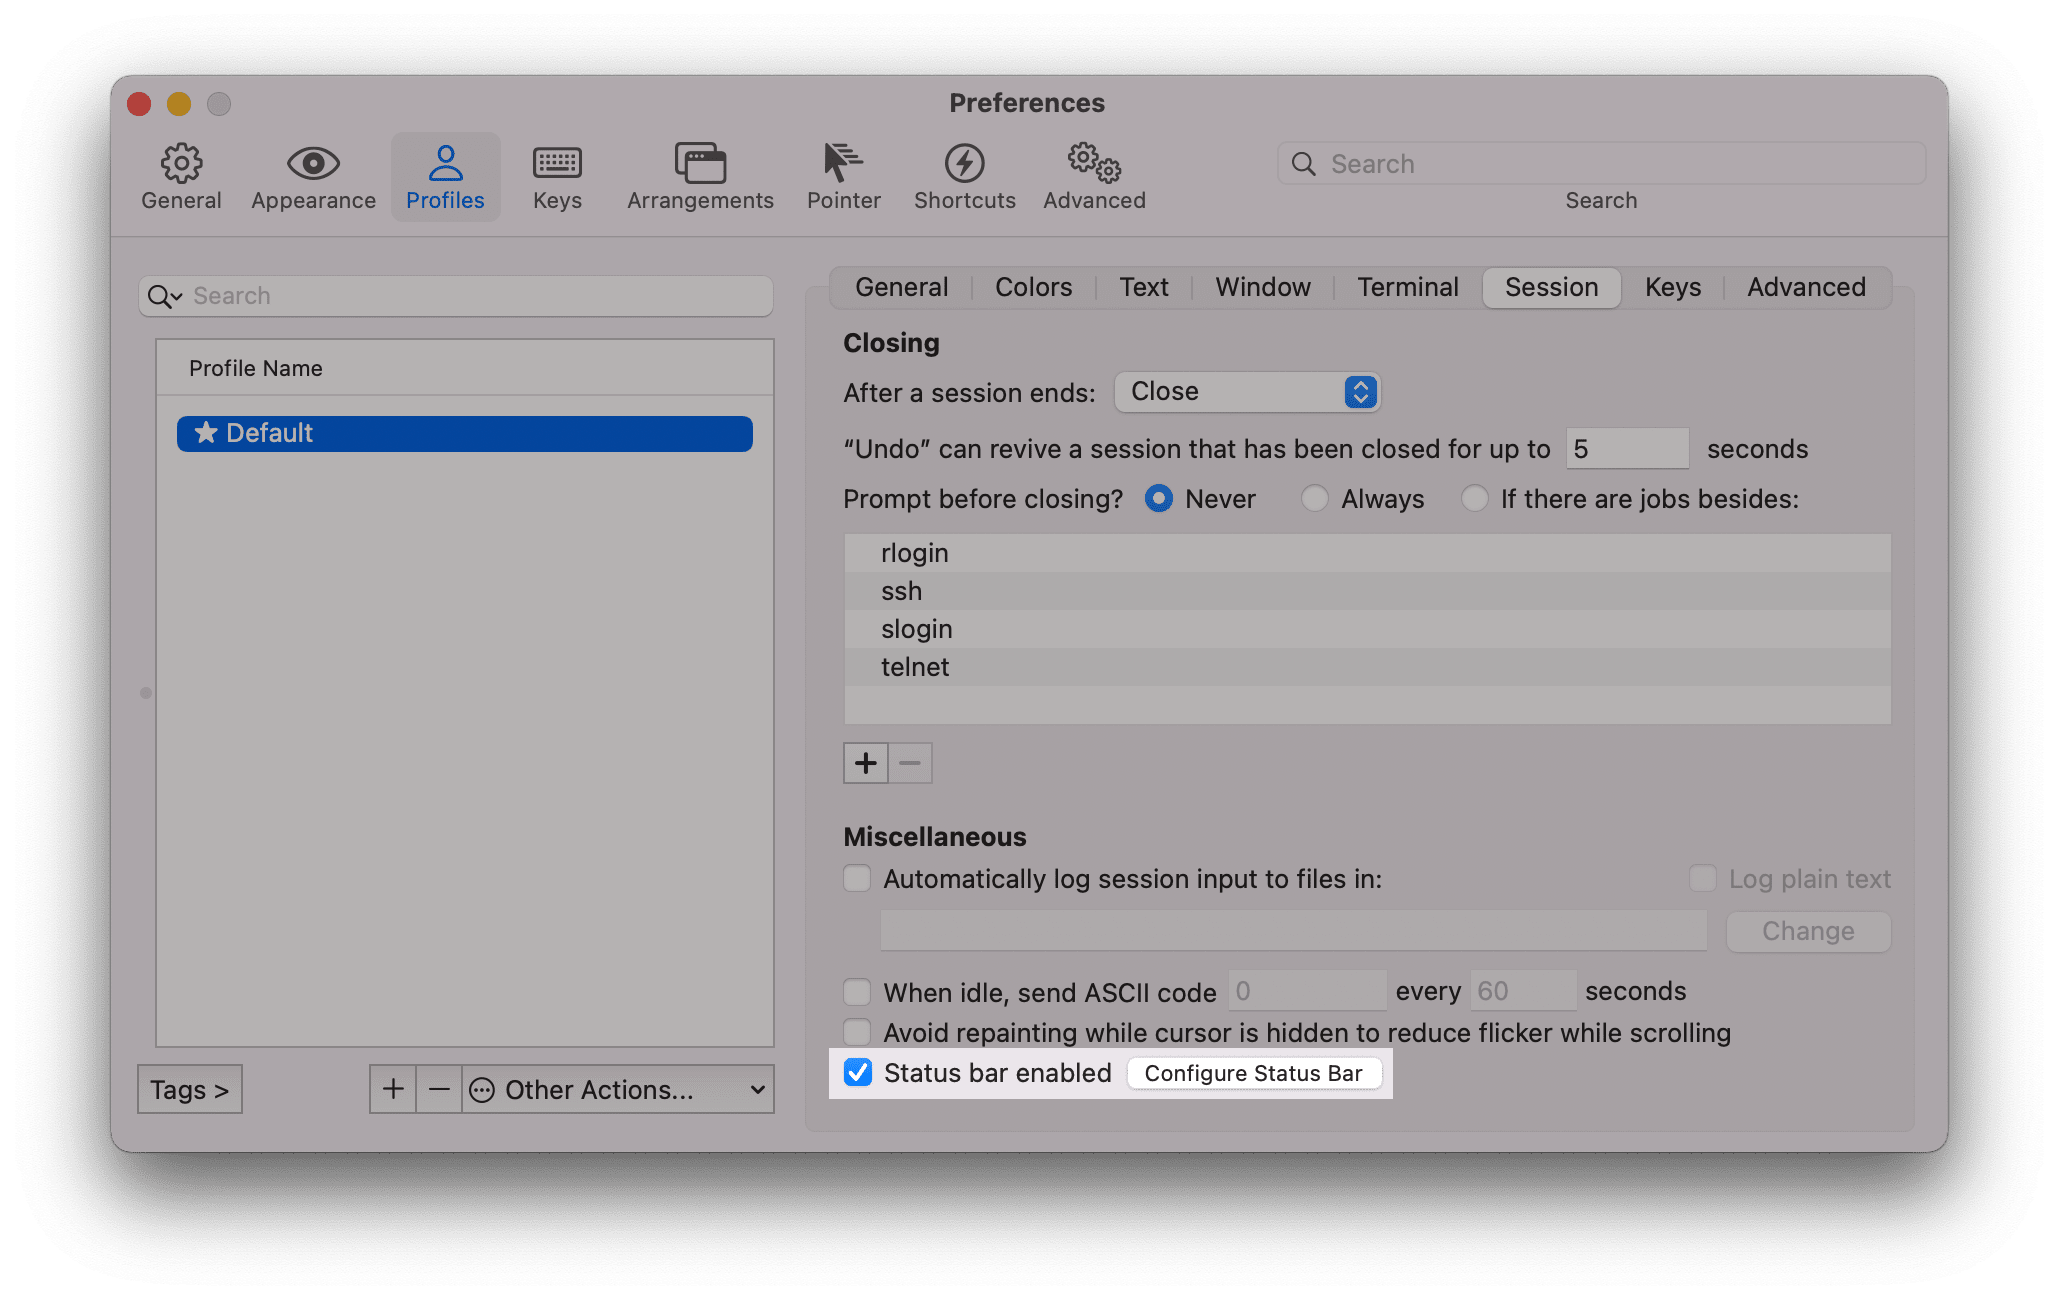
상태바를 추가합니다.
Profile > Session: Status bar enabled 체크
- Configure Status Bar 선택하여 원하는 항목 드레그 추가: CPU / Memory / Network / Clock 등
- Auto-Rainbow: Automatic
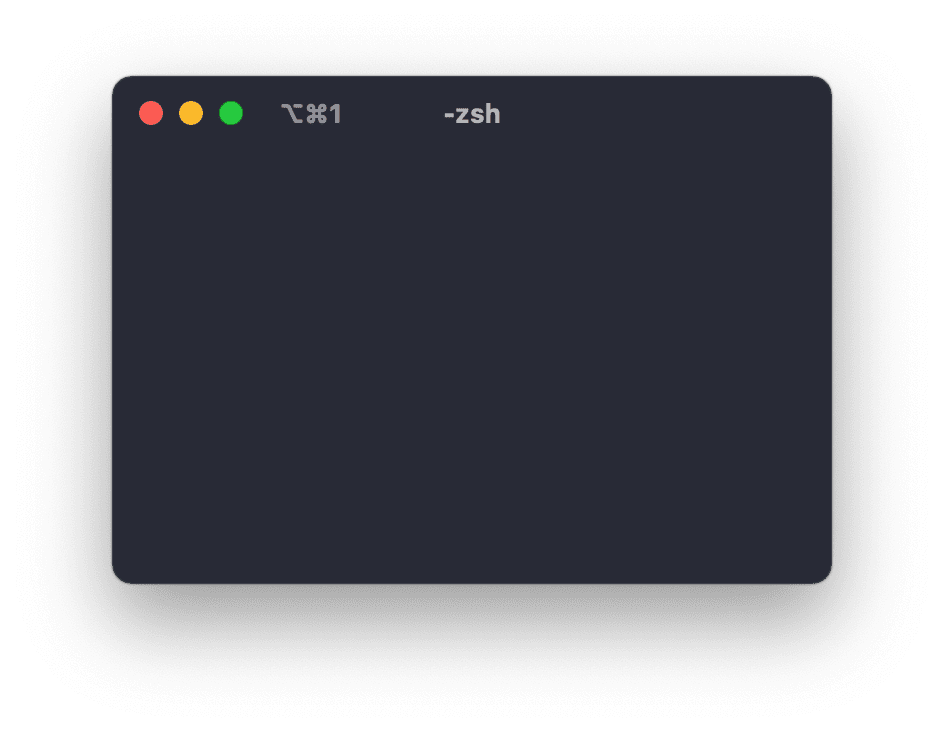
Appearance > General > Status bar location: Top -> Bottom
# Keys
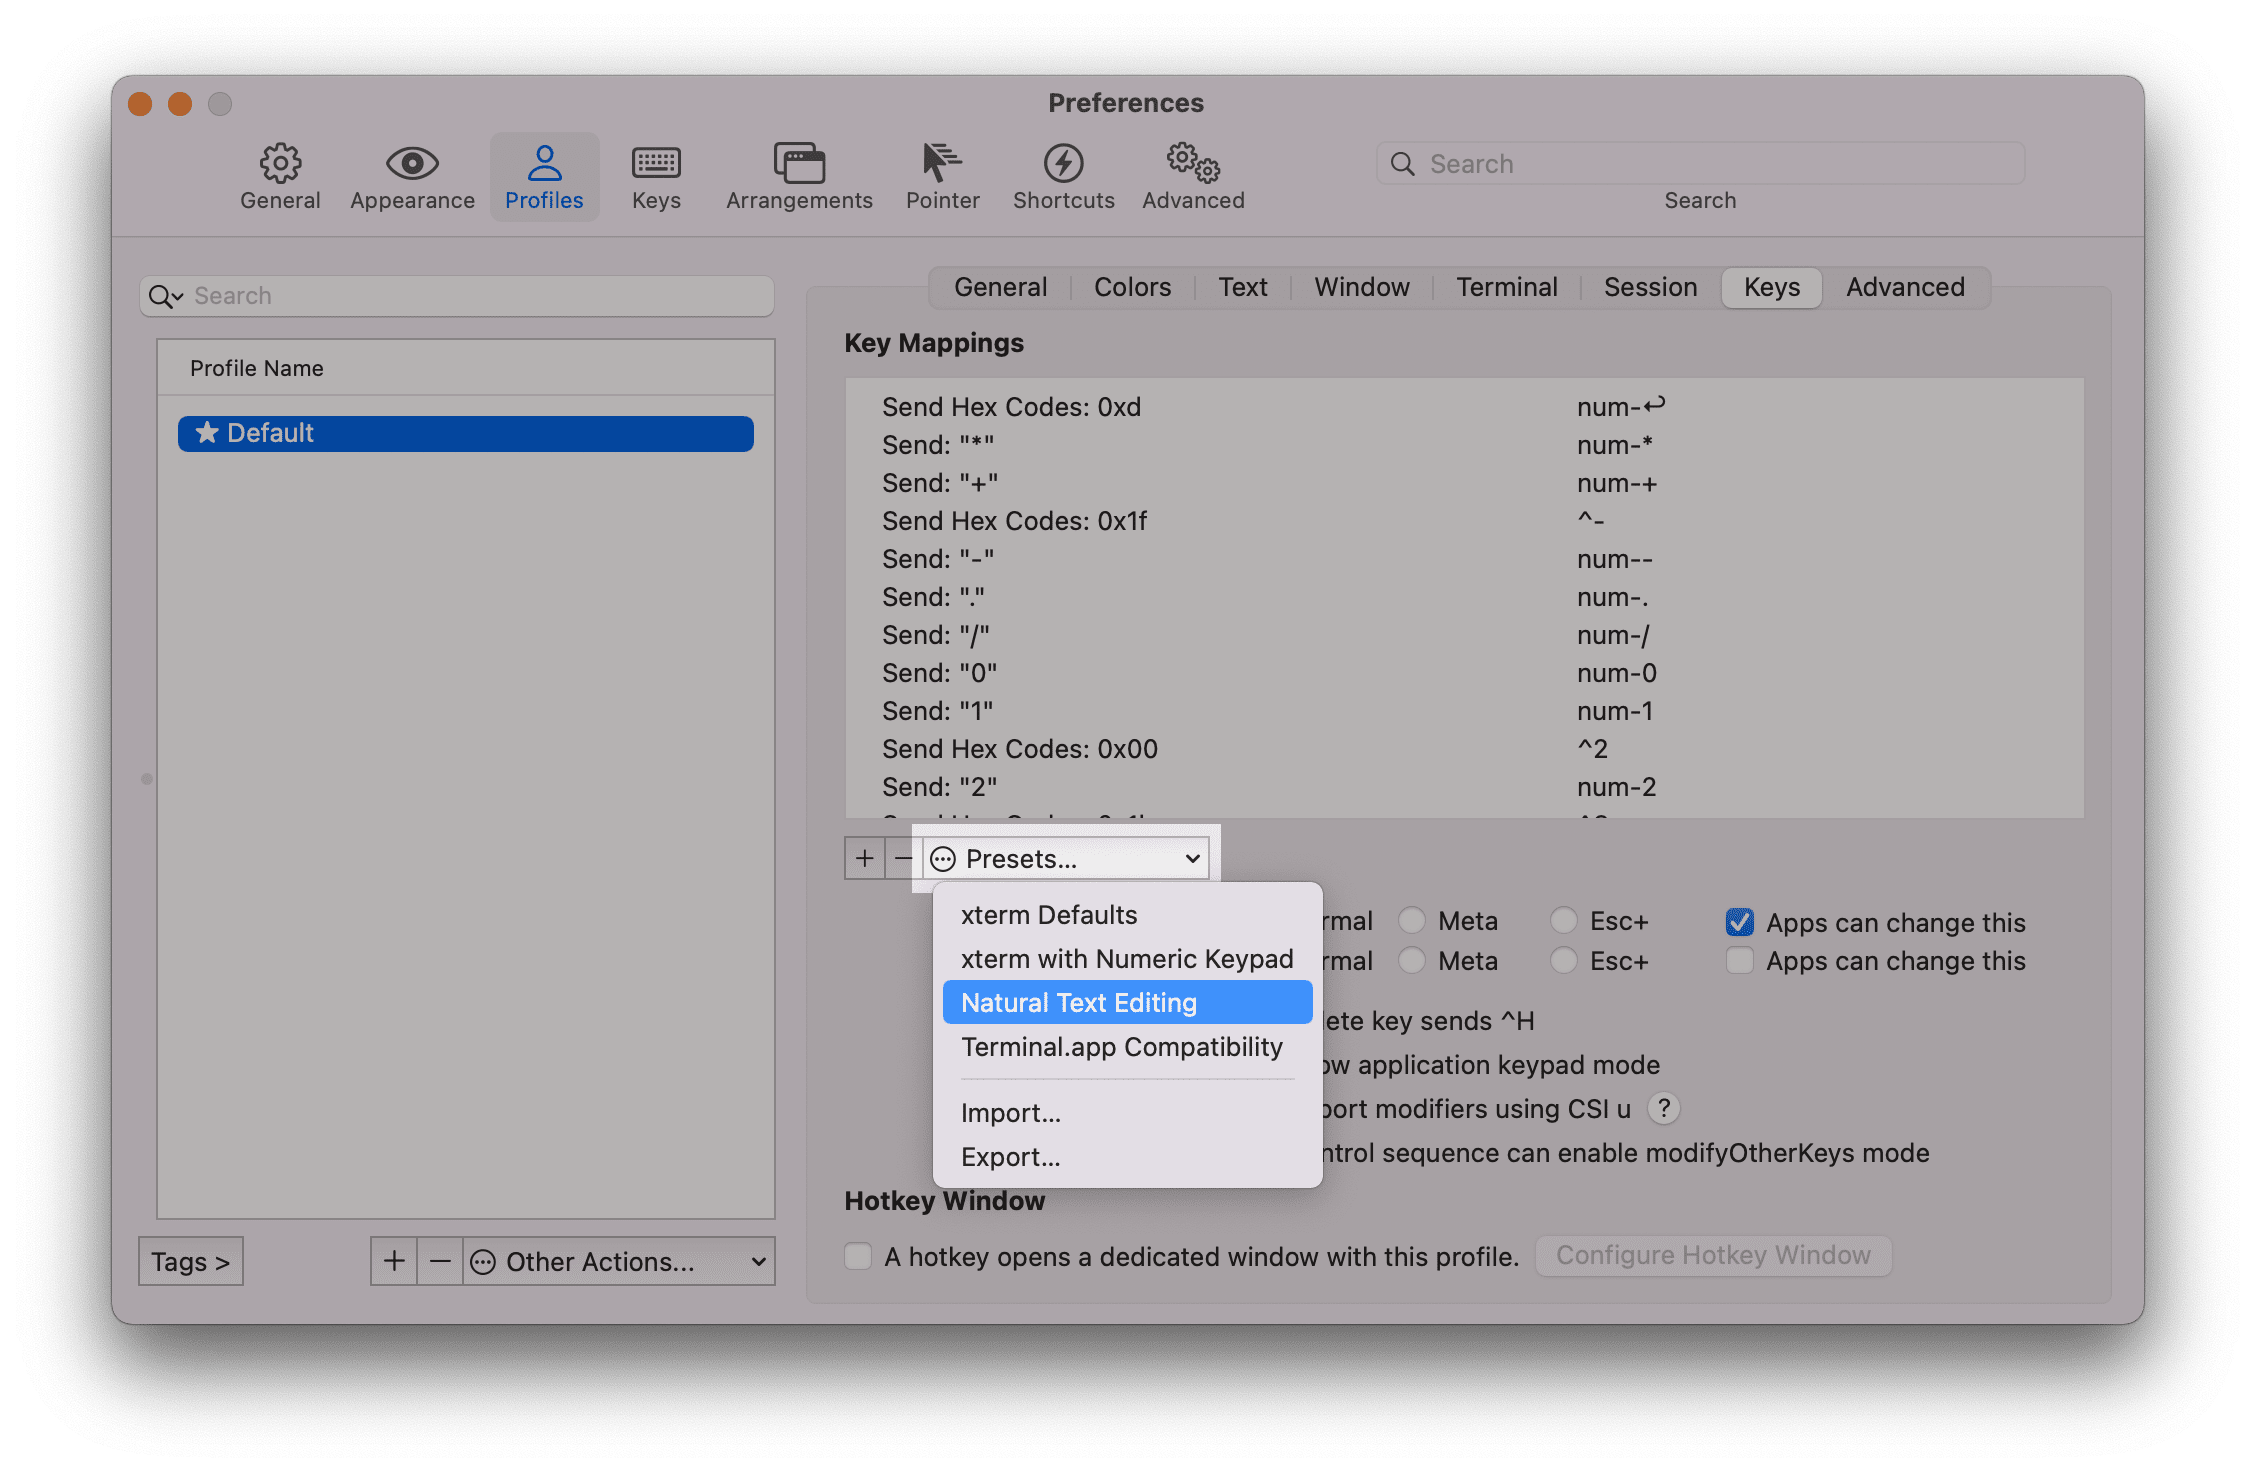
⌥(Option) + ← 또는 →를 이용하여 단어 단위로 이동할 수 있게 단축키 설정을 변경합니다.
단축키 변경
Profiles>Keys>Presets: Natural Text Editing 선택