# 터미널 설정
⚡️ 목표
밋밋한 쉘 프롬프트에 Git 상태를 추가하고 Git 명령어 별칭alias을 설정합니다.

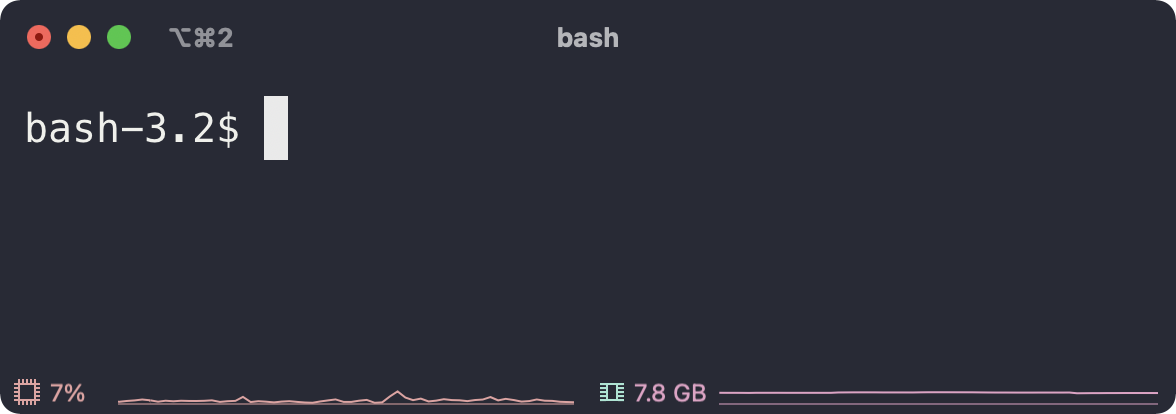
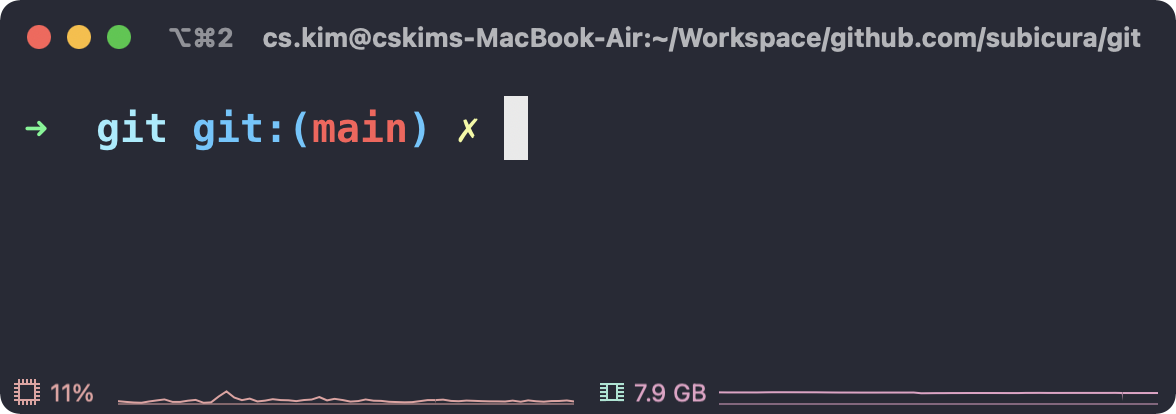
기존 터미널을 다음과 같이 변경합니다.

추가 기능
- 현재 브랜치 표시
- Git 작업 상태 표시
- Git 명령어 alias (opens new window) 적용
- Git 명령어 + 인자 자동 완성
별칭 alias
git status를 gst와 같이 줄여 쓰는 걸 의미합니다. g로 시작하고 외우기 쉽게 되어 있으니 적극적으로 활용해보세요.
| 명령어 | Alias |
|---|---|
| git status | gst |
| git push | gp |
| git pull | gl |
| git merge | gm |
| git add -A | gaa |
| git commit | gc |
| ... | ... |
# macOS
- zsh을 최신 버전으로 업데이트하고 zsh-completions (opens new window) 설치
brew install zsh zsh-completions
- oh-my-zsh 설치
sh -c "$(curl -fsSL https://raw.githubusercontent.com/ohmyzsh/ohmyzsh/master/tools/install.sh)"
더 멋지게 터미널을 꾸미고 싶다면 본격 macOS에 개발 환경 구축하기 (opens new window)를 참고하세요.
# Windows
- zsh 다운로드
https://packages.msys2.org/package/zsh?repo=msys&variant=x86_64 (opens new window)
# 기본 다운로드 경로
https://mirror.msys2.org/msys/x86_64/zsh-5.8-5-x86_64.pkg.tar.zst

# 32bit인 경우는 다음 경로로
https://mirror.msys2.org/msys/i686/zsh-5.8-5-i686.pkg.tar.zst
.zst확장자 압축을 풀기 위해 Bandizip (opens new window)을 설치합니다.
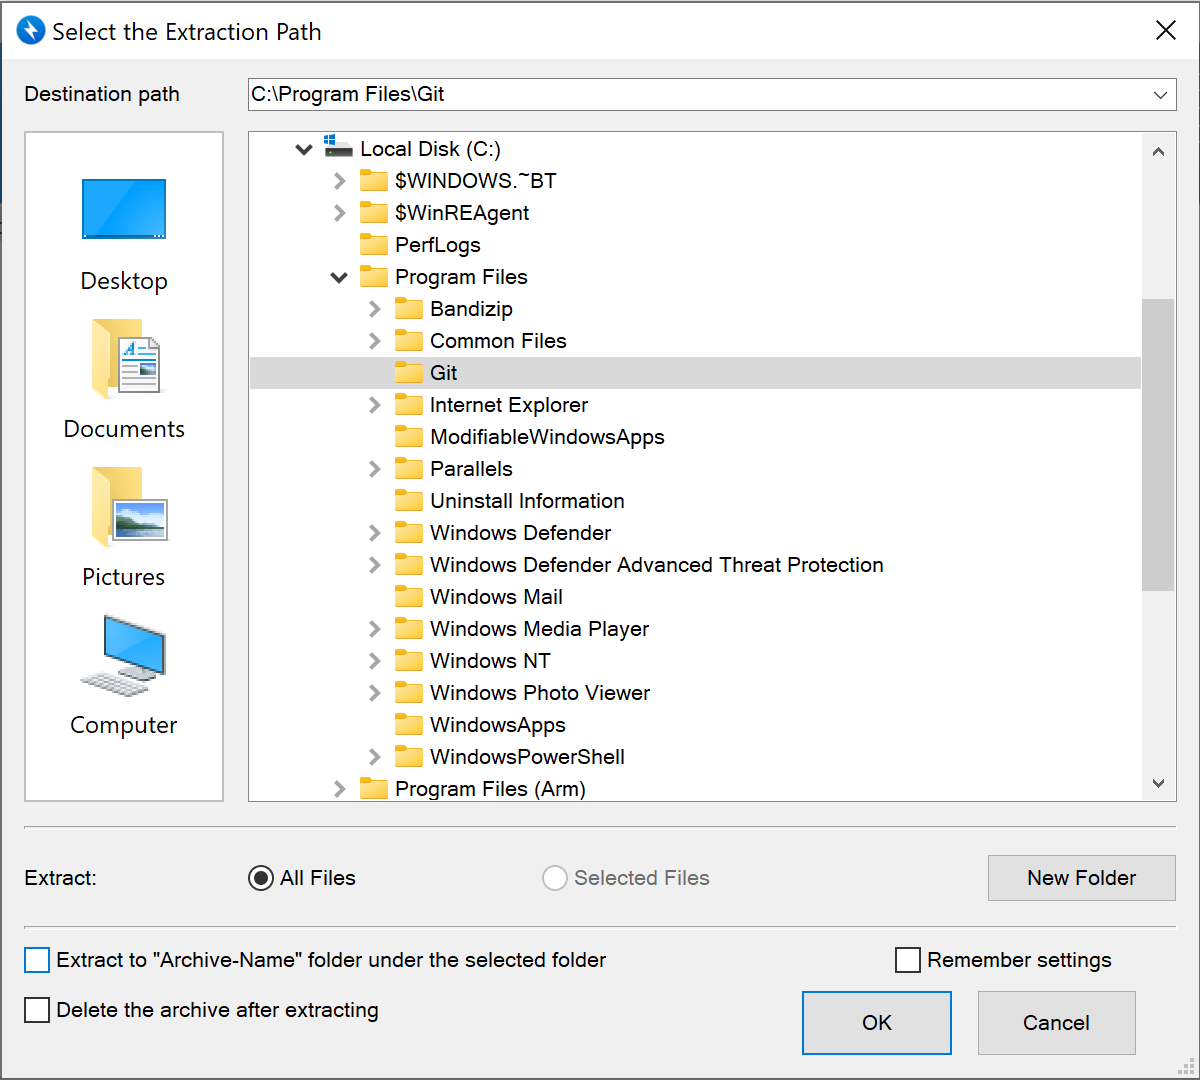
C:\Program Files\Git에 압축 풀기
반디집으로 zsh-5.8-5-x86_64.pkg.tar.zst를 압축해제 하면 zsh-5.8-5-x86_64.pkg.tar 파일이 생깁니다. 그럼 한 번 더 압축을 해제합니다.

Extract to "Archive-Name" folder under the selected folder 옵션을 해제하고 Git 디렉토리를 선택한 다음, 압축을 해제합니다.
- zsh 설정 및 oh-my-zsh 설치
Git Bash를 실행하고 다음 명령어를 입력합니다.
# bash > zsh 변경
zsh
# install oh-my-zsh
sh -c "$(curl -fsSL https://raw.githubusercontent.com/robbyrussell/oh-my-zsh/master/tools/install.sh)"
bash: zsh: command not found
오류 메시지가 뜬다면 zsh 압축이 Git 디렉토리에 정확히 풀렸는지 확인해주세요.
Error: this script is obsolete, please see git-completion.zsh
oh-my-zsh 설치 후 뜨는 에러는 무시해주세요.
매번 git bash를 실행하고 zsh입력이 불편하다면 다음과 같은 C:\Users\{id}\.bashrc 파일을 생성합니다. 강제로 zsh로 전환합니다.
# Launch Zsh
if [ -t 1 ]; then
exec zsh
fi